Just the other day, we wondered what to do with these leftover flour tortillas. Then, we thought tortilla chips … to serve with some leftover enchilada filling. Though I am filing this post under “snacks,” serving these with the beef and bean enchilada filling made these hearty enough for a lunch.
The first step was to cut the tortillas into 1/6 wedges. I kept these tortilla wedges handy, piled on a small cutting board, just to the left of an iron skillet.
In an iron skillet, I poured 1/8 to 1/4 inch of oil and heated it over medium high heat until shimmering.
Interesting reflections in this oil … of light fixtures and potholders. 😛
To the right of the stove, I set up some platters lined with paper towels to receive my fried chips.
To test the heat of the oil, I broke off a small piece of tortilla and tossed it in. When I saw the oil was sizzling, I knew it was hot enough.
At this stage, I filled the pan with the tortilla wedges.
My oil was fairly hot, and my wedges started bubbling and browning quickly. I ended up using the tongs to flip my tortillas as soon as the pan was filled with them and then removing them from the pan as soon as they were all flipped. They were cooking very quickly even after I turned the heat back down to medium. It may not work this fast for you, but it’s something you need to monitor carefully. Don’t look away, and as you see them bubbling up and browning, remove them to your paper towel platters.
While my chips were hot, I sprinkled them immediately with kosher salt. I layered more paper towels over top of them and then more chips and sprinkled more salt.
I was making these the day after my second Covid shot, and right at this point, a migraine hit. So, Dad served up the chips with our enchilada filling. He likes to arrange food prettily, so this is what he delivered to me.
Try this at home and enjoy! The experience is a bit different when they are warm and fresh.
Leaf lettuce is my mother’s favorite variety of lettuce, and this salad with pioneer dressing is her favorite way to eat it. She’s been making this style of salad for years. Once, we found a similar recipe in a cookbook, and this style of dressing was called “Pioneer dressing.” It isn’t what she grew up calling it, but it seemed to fit, because, in spite of the fact that Mom has lived in New Jersey for 61 years, she has midwestern roots from Nebraska.
This salad is delicious and easy to make. It’s really a salad side dish. It doesn’t have enough protein or filling ingredients to make it a main dish salad.
First, rinse your leaf lettuce. We like to use a lettuce spinner for this. Then, tear your lettuce into a bowl.
In a smaller bowl, measure out your dressing ingredients: 1/2 cup mayonnaise, 1 tbsp. apple cider vinegar and 1 tbsp. sugar. You can use a light mayonnaise to lower the fat content.
Whisk all the ingredients together until smooth.
Scrape dressing into the lettuce bowl and toss to mix.
Yesterday, we had a big family barbecue, with 11 of us, and brother Tim was in charge of the barbecued ribs. Today, I am sharing his procedure, flavor and barbecue style for baby back ribs.
Step 1 — Remove membranes from the ribs.
First, remove the membrane from the bone side of the ribs. You can insert a knife under the membrane to loosen it and get it started and then pull it off with your hands.
Step 2 — Rub in your barbecue rub.
Massage some dry barbecue rub into your ribs. Tim used a pre-packaged St. Louis style rub. Depending on your taste preferences, there are many options for rubs. You can find rub mixes in the grocery store or mix your own from a recipe. An online search for St. Louis style rub brought up several different formulas, so I wasn’t sure which one to link.
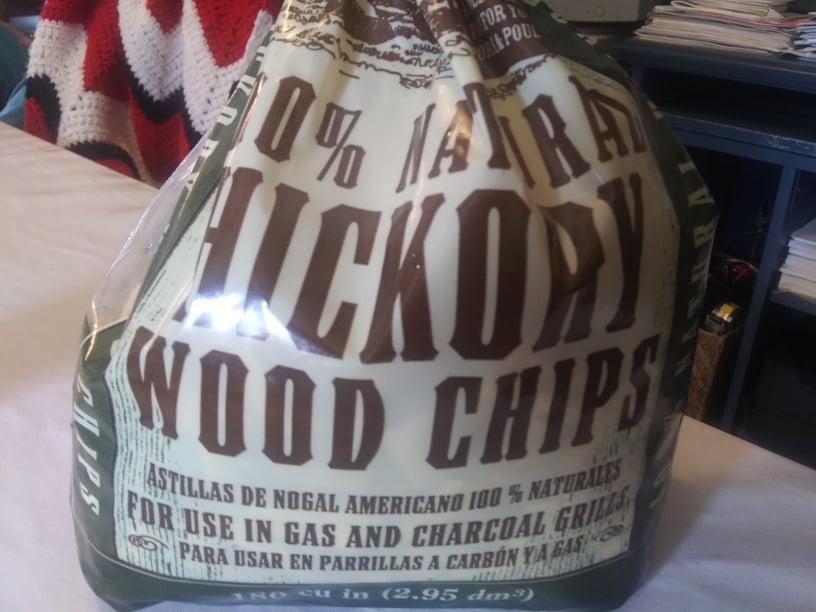
Step 3 — Soak your hickory chips.
Hickory chips add a nice smoky flavor to your ribs. If you want to use these, you will want to presoak them in a pan of water for maybe 15 minutes or so.
Step 4 — Heat your charcoal and prepare your grill.
Tim used a Weber grill and a variety of other Weber products. First, he filled a Weber chimney with charcoal.
Then, he lit a Weber lighter cube, made of wax, and set the chimney over it.
When the charcoal was hot and smoking, he poured them out onto the grill. He tells me that, at this stage, often flames and sparks shoot up. This time, it wasn’t quite this dramatic.
Using tongs, he then moved the hot charcoal to one side to make room for a foil pan to catch the drippings from the ribs. He also added the hickory chips in with the hot charcoal.
Then, he added the top grill grate over top, sprayed it with Weber grill spray and rested a rib rack on the grate over the foil pan.
Then, he arranged the ribs in the rib rack.
Step 5 — Grill your ribs.
At this stage, you can close the vents and maintain a grill temperature of 275 degrees. Cook the ribs for four hours. You will want a meat temperature of 195 degrees and can use a meat thermometer to monitor it.
Step 6 — Brush on your barbecue sauce.
The final step is to brush on the barbecue sauce. Tim used Sweet Baby Ray’s which is a highly rated and popular sauce. Of course, there are many different taste preferences, and you can add the sauce of your choice.
Many instructions will say to add sauce when you have 10 minutes left of cooking time, but Tim added his right before serving to prevent some mess and keep the ribs from sticking to the grill.
The results were delicious. The spice mixture had some zing, and the barbecue sauce was on the sweet side, so it made for a nice blend of flavors.
Tomorrow, July 5th, we are having a big family get-together, and I was commissioned with making a dessert. I had the idea, at first, to make a flag cake for our delayed Independence Day celebration, but after a week of house sitting and with limited time to prepare, I wanted to make something simple that was still festive — brownies with frosting and a candy fireworks design.
So, this post is more of a decorating idea than a recipe. I just used a boxed brownie mix. I chose a Duncan Hines dark chocolate fudge brownie mix, but you can use any kind you like or a favorite recipe. If you want to go with simplicity like I did and focus on the decorating, use a boxed mix and prepare it according to the directions.
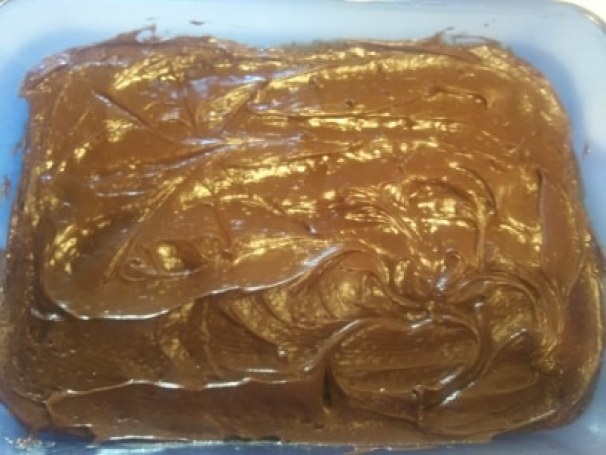
I made a big batch in a 13 x 9″ pan. After letting them cool for a while, I frosted them with a can of store-bought chocolate buttercream frosting. This made a sticky surface in which to stick my candy fireworks.
My first idea was to buy special red, white and blue M&Ms for my fireworks designs. I know the product exists but didn’t find it when I was shopping. Instead, I bought regular M&Ms and found another candy I thought might work for fireworks — sour rainbow belts.
Sometimes, a failed Plan A is good for creativity. I thought to myself that fireworks, even July 4th fireworks, are not in patriotic colors only, so I could be more free to use any color. The rainbow belts were too wide to use for fireworks. I thought I could cut them into thinner strips. It turns out that I didn’t need to cut them width-wise. The separate thin color stripes easily peeled apart.
First, I prepared by tracing my fireworks designs lightly into the frosting with a knife, so I had a pattern to follow with my candies. You might not be able to see it perfectly, but the photo below should give you some idea.
I sorted some of my M&Ms by color and pulled the rainbow belts into thin colored strips and set to work creating my designs. I made a large starburst, a smaller one and a third shape that was more of a spiral burst. Dad made the suggestion that I should use a few short pieces of my sour strips that didn’t touch the center of that large burst. I thought that had a nice effect.
Today, I am preparing to house sit/dog sit and take care of my French bulldog friends, Theo and Remy. The dog owners usually stock the freezer with some of my favorite healthy frozen foods, but I thought I would pack some supplemental bento boxes that could work perhaps as lunches or as healthy snack boxes.
I went out to the grocery store with some ideas but not too much of a plan and picked up a variety of healthy snacks.
I picked up some savory plantain chips and cheesy kale chips …
some baby carrots with avocado ranch dip, strawberries, vanilla yogurt covered raisins and light Babybel cheeses,
some sundried tomatoes,
and Annie’s fruit snacks that came in cute shapes like barns, tractors, pigs, sheep, cows, bunnies and carrots. I’m sure they are meant to have kid appeal for kids’ lunches, but I am a kid at heart, so why not?
Here’s a little humor for you on these fruit snacks. As I was putting together my bento boxes with these fruit snacks, I couldn’t recognize all of the shapes unless they were flipped the right way. The molded details are really only on one side. I was assuming one of them was a tractor until I flipped it and saw it was a cow. Mom got a kick out of that and said, “You can’t tell the difference between a tractor and a cow? You wouldn’t make a very good farmer. You would sit on the cow and try to plow the field!”
The variety of snacks meant that each bento box could be a bit different, and I wouldn’t be eating something identical every day.
I used these segmented plastic lunch boxes that I purchased some time back on easylunchboxes.com …
And used some silicone cupcake liners that helped me squeeze in a few more compartments for separate items.
Here are a few different layouts ..
yogurt covered raisins, kale chips, plantain chips, sundried tomatoes, fruit snacks, Babybel cheese and strawberriesstrawberries, Babybel cheese, yogurt covered raisins, sundried tomatoes, kale chips and plantain chipsyogurt covered raisins, Babybel cheese, fruit snacks, plantain chips, carrots and avocado ranch dip
Some of you may notice that it seems spare for a lunch or is lacking in more protein based snacks. Partly, I’m not sure if these will end up being snacks or lunches. In the past, when I have done something like this, I have included rolls of turkey cold cuts or turkey rolled with a little neufchatel cream cheese and lettuce. So, there’s an idea for more protein. For snacks, the portioning helps to limit some of the snacks that have more calories or fat, although I don’t feel like I need to limit carrots or strawberries.
I think bento boxes like this can serve different purposes. With a few changes, they could work as kids’ snack or lunch boxes. A few of these snacks like the carrots, cheese or fruit snacks are kid-friendly. I’m not sure about the sundried tomatoes or kale chips, but it might depend on the kid. You might want to double up on the protein for a lunch box, but with a few moderations, this could work for either an adult or child’s lunch box.
You could pack some of these bento boxes for a vacation, so you have some options for lunches or snacks while on the road or, if you have a fridge where you are staying, you have some options for either snacks or lunches that won’t involve eating out.
I want to show you a few other food or drink items I am packing.
I am growing to like these Bubly sparkling water drinks. I am trying to drink more water and less of other drinks that have sugar, and plain water is not as interesting to me as this sparkling water is. This just has a little bit of fruit flavoring and carbonation and nothing artificial.
I also got these tiny frozen desserts — ice cream surrounded by mochi. Mochi is a sweet Japanese snack made with glutinous rice. I got them in six different flavors: cookies and cream, vanilla bean, green tea, ripe strawberry, double chocolate and dulce de leche. The packaging is so tiny that there is no nutritional information on it, but I am assuming that just the tiny portion size makes it a better choice than some other frozen desserts would be.
I hope this post gives you some inspiration about healthy eating and snack or lunch prep.